> For the complete documentation index, see [llms.txt](https://docs-shpf.bsscommerce.com/b2b-wholesale-solution/llms.txt). Markdown versions of documentation pages are available by appending `.md` to page URLs; this page is available as [Markdown](https://docs-shpf.bsscommerce.com/b2b-wholesale-solution/customer-management/registration-forms/set-up-a-multi-step-registration-form.md).
# 🧩 Set Up a Multi-Step Registration Form
Want a smoother, more professional experience for your wholesale customers? The **Multi-Step Form** breaks your registration process into manageable stages—so collecting business info feels easier and more trustworthy.
## 🚀 How to Create Your Multi-Step Form
1. **Enable Registration Form & Open the Editor**
* From your app dashboard, go to **Customer Management** and enable **Registration Form**.
* Navigate to **Configuration** and click **Create Form**.
* Choose a form template to start building.
2. **Organize Your Form into Steps**
* A multi-step form divides the registration process into multiple sections (or “steps”).
* You can add as many fields as needed in each step—such as company details, contact info, or tax documents.
* Give each step a clear **title** and **description** to guide customers through the process smoothly.
3. **Preview While You Build**
* Use the **Preview Panel** on the right to see exactly how your form will look and function as users progress through each step.
4. **Advanced Options & Controls**
* **Auto Tagging**: Automatically tag customers who register through this form (e.g., “Wholesale”).
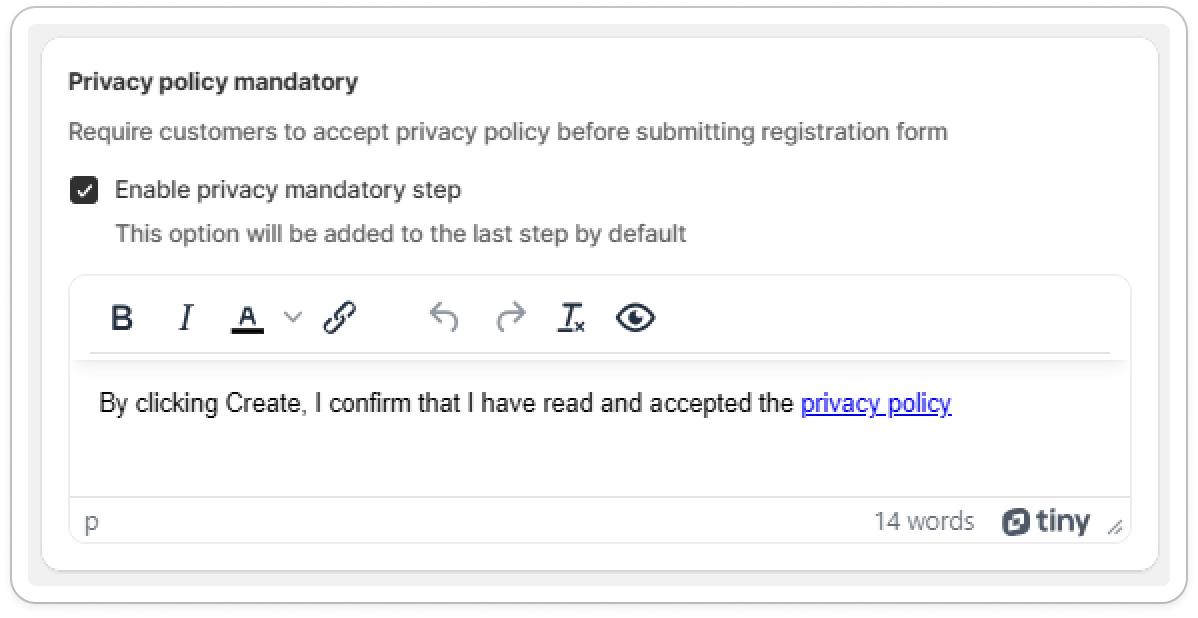
* **Privacy Policy**: Add a consent checkbox or link to your privacy policy.
* **Email Notifications**: Configure email alerts so both you and your customers get registration confirmations, head to [Email configuration](https://app.gitbook.com/o/XV1urEfEBFpfKYaHAarY/s/GolQYRPH9iUGYatlTXwl/customer-management/registration-forms/manage-approve-and-notify-your-customers)
* **Approval Rules**:
* *Automatic Approval*: Instantly approve new customers upon submission.
* *Manual Approval*: Review each application before granting access.
* *Smart Auto-Approval*: Automatically approve users whose emails match specific criteria (e.g., business domains).
## ✅ Publish Your Form
Before your form goes live, make sure:
The **app embed block** is **enabled in your Shopify theme** to ensure proper display.
Add the registration form to your storefront using the **theme editor** or **app block**.
Once published, your customers can easily register through your **multi-step form**, and you’ll receive their submissions directly in the dashboard.
{% embed url="" %}
And here is the result on the website
{% embed url="" %}
{% hint style="info" %}
**Remember:** Customer must log in with 6-digit code to be able to fill in the registration form
{% endhint %}